A LaTeX/Overleaf short tutorial in written format!
![]()
This is a written version of a workshop I am giving for Emerging Scholars in Educational and Learning Sciences conference (University of Helsinki) on 24th of October 2025.
Reminder: prior knowledge in programming is NOT necessary. Although this tutorial might be easier if you have done programming before, this is really not necessary!
Prep: What you’ll need for this exercise
- Create an account in Overleaf
- Open Elsevier’s template and start learning by doing!
- Download the two mock-files you will need for this exercise:
1. Why learn LaTeX?
What we do requires writing: be it writing essays, reports, journal articles, or our thesis/dissertation. These require tools, and we rely a lot on Microsoft Office suites.
While this is a good solution in general, there are several frustrations:
- It is not free. If you are not getting it paid by the university, it is pricey!
- I would love for science to be open and free – not only accessible to those who can afford a Microsoft suite.
- You could go to Google docs or use LibreOffice, but..
- A lot of the things we write is long and complex. We work a lot with tables, figures, bibliography; and it could get so frustrating!
- “What number figure is that again?”
- “Did I make sure that all the references are properly put in?”
- “What kind of sorcery made my page look so wonky???”

2. The aim of this exercise
Introducing LaTeX, an open-sourced text-processing software
- specifically in this session, we use Overleaf, which allows you to use LaTeX online. You don’t need to download and configure it in your own machine. In time, you can do so, but for now, let’s use this online version that is way more beginner-friendly!
LaTeX?
![]()
- An open-sourced text-processing software (free for you, your kids, your grandkids!)
- Relies on a plain text file, sprinkled with LaTeX commands for typesetting a final, beautiful PDF file
- A software that formats your documents for you, so you don’t need to fuss
Learn by doing!
To practice, we’ll pretend to prepare my second paper for submission to an Elsevier journal (Learning and Individual Differences).
We’ll try to prepare the title, highlights, abstract, first paragraph of introduction, and two lines from “1.4. The Present study” (embedding a figure). Click here if you want to see what the final file looks like.
Through this, you get to learn:
- LaTeX document structure
- Intuition for various commands
- Filling in content
- Math mode and other formatting
- Setting up citation and bibliography
- Embedding figures and in-line references
Follow along with these steps below!
3. Quick Overleaf tour
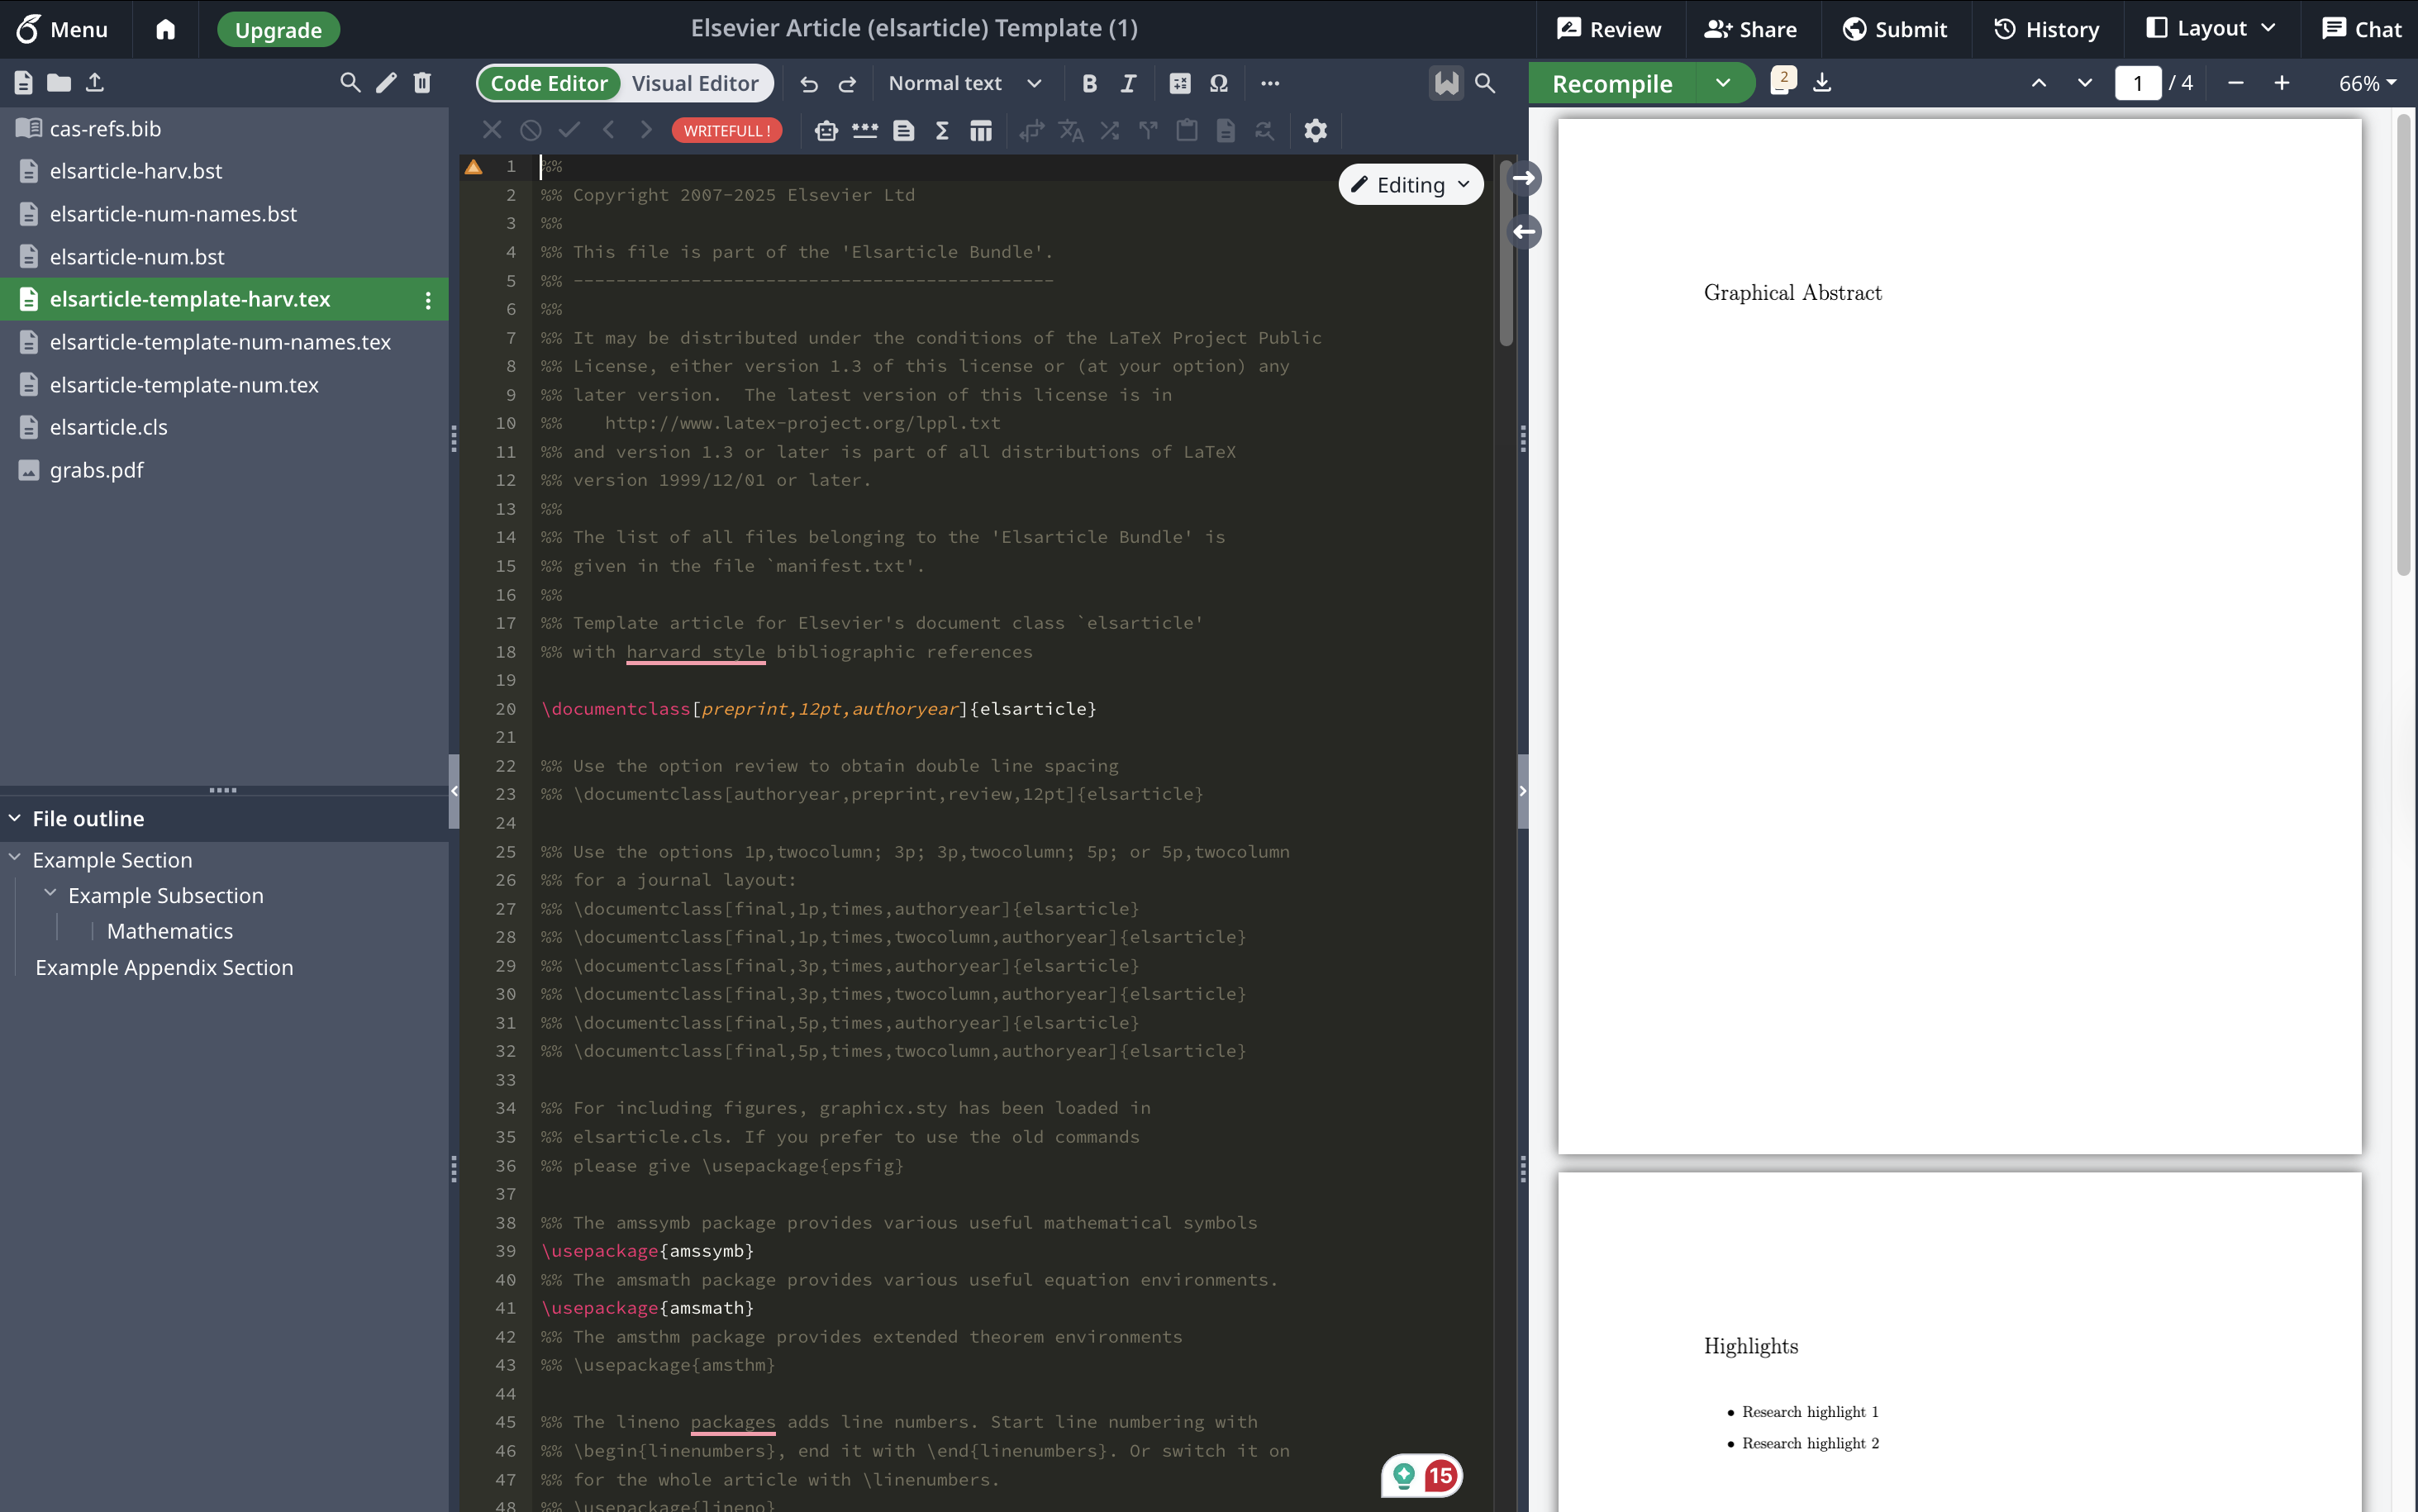
When you open the template, on the left-most panel, it is a list of all the files associated with this project:
.tex– All LaTeX project would need the.texfile, which is where you write your content.bib– The list of references for your article. If it is an academic project with bibliography, then you will also have a.bibfile for your references. Usually you can create theseBibtexfiles from your reference management software (e.g., Zotero, Mendeley), or even download them from the publisher’s page.cls– Defines the styles of the document(s) when they are formatted. Many templates have the.clsfile, to create unique environments and styles.pdfor.pngor.jpg– images you want to add to your document. You can see the.pdffile embedded at the bottom of the list
In the middle part, you get to see the file content of all our files.
In the right-most part, you get to see how our .pdf looks like once the TeX engine “compiled” the .tex files
For our practice, you can upload all the files I shared to you to this project, and we’ll move on by actually writing into the elsarticle-template-harv.tex file!
4. LaTeX document structure: going through the Elsevier template
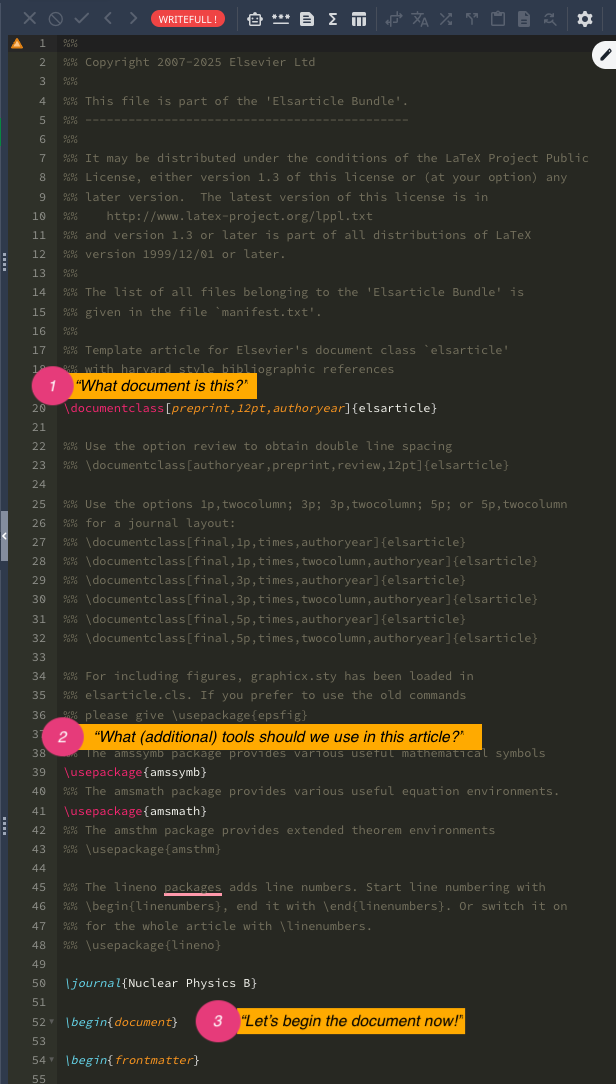
- We are using a pre-made template by Elsevier, so the structure is pretty much done for you. But most of the time we have to start with describing “What document is this?” (Answer:
\documentclass[preprint,12pt,authoryear]{elsearticle})- this means it is an “elsearticle” for submission (preprint), the font size is 12pt, and citation style is “authoryear” (rather than numbered, etc.).
- they also listed other options in the comments (anything following the percent
%sign is assumed as comment and not read by the TeX machine as input) - similar to the hash
#in R
- Then we specify what other tools we want to use in the article. Some people need math symbols, or to print equations. This is why we have the
\usepackage{amssymb}and\usepackage{amsmath}.- for this practice, we will also add one of my favorite package for creating references, but we’ll get there in a bit.
- this is similar to loading libraries in R or Python
- Then, we tell LaTeX that from this line on, we are starting the content of the document. This is what the
\begincommand does. Everything before this is called the “preamble”, which basically defines the “setup” for LaTeX.
The great thing about Overleaf is they are trying to bridge the “code” side of things with what people are more used to seeing, and they have the “Visual Editor” mode if the codes are too confusing!
5. Filling in details: Abstract
From here on, it is quite straight-forward.
- Let’s try adding the title (line 84), author (line 102), and affiliation details (lines 105-110). Just copy them from the article page in Elsevier – then click the “Recompile” button or
ctrl+Enterorcmd+Enter. Do you see the changes now? Easy, don’t you think? Now all the formatting is really done for you. - Moving on to the abstract, let’s copy the text from the article page again. Do you see that Overleaf shows something funny following the percent (
%) sign? This is because LaTeX uses the sign as a special symbol (to comment out things). To tell LaTeX that we want the symbol to appear in our .pdf, we simply add backslash\%. - Now I want to show something neat: if we are following APA style standard, some statistical reporting needs to happen with Greek symbols or italized, and so on. This is where LaTeX really shines: math mode!
Intro to math mode and more formatting
Instead of clicking through options to make sure we get the right symbols like we do in Word, we just blanket the parts that need to show up in “math mode” with $.
Try it with the “Mage”–turn it into $Mage$; and the “52%”–turn it into $52\%$.
Another neat thing is that you could ask LaTeX to specify the M-dash (the long dashes, like in the second to last line of the abstract).
Write it as “higher cost in math --- effects not explained by achievement comparisons.”
Try to recompile and see what happens!
6. Filling in details: Highlights
The template specified a space for us to add our graphical abstract, but given that we don’t have any, we can just comment it out. Add % in front of each line, and we’re good to go.
Next part is highlights, which is funnily enough in the formatting appears before the article!
This is arranged in the .cls file, and gratefully, we don’t need to worry about that!
So now you get to see how we do bullet points in LaTeX: we use the command \item.
Outside this template, usually we do this by defining \begin{itemize} before our \item lists and end it with \end{itemize}; but in this case, the template already specified this for us in the .cls file, and we only needed to add more items.
Try copy-pasting all the highlights and see for yourself what it looks like when compiled in the .pdf!
7. Filling in details: Keywords
Next, we can write the keywords. The template told us to write each keyword separated by \sep. Let’s copy the keywords and do so!
8. Filling in details: Introduction
Now the most exciting part: writing the content.
Let’s specify that our first section is called “Introduction” by specifying \section{Introduction} (rather than Example Section). The section and subsection commands mean that you can switch the order of sections without having to worry about numbering them correctly.
(In this practice, you can remove the subsections if you’d like because we won’t use it.)
Copy the first paragraph of the introduction, and recompile it!
Yes, you’ll get an error. Why? Because of the ampersand, or the “and” symbol &. This is another special symbol that LaTeX uses as part of its command, so we need to specify it as \&.
BUT these are citations! Here comes another juicy part of LaTeX: formatting bibliography.
Setting up citation and bibliography
Different people approach this differently, but I’m going to introduce you to my favorite way to format the bibliography: BibLaTeX.
Given that we want to ensure an APA style citation, we should go back to the top where the preamble is, and specify to LaTeX:
\usepackage[backend=biber,style=apa]{biblatex}
\addbibresource{overleaf-practice.bib}
This basically informs LaTeX that we want to use the biblatex package to process our references, and that it should use the file overleaf-practice.bib as its source.
Take a look at the file! I got this straight out of my Zotero; I created a collection, exported it as a BibTeX file, and put it here. This file format allows you to change reference style at any point, and still have the right back-end information every single time.
Next, we’ll remove the citation and bibliography examples from the bottom of the template (lines 253-280) and replace it with our own: \printbibliography[title={References}]
Next, we turn the in-text citations from normal text into citation commands by using \cite{}.
To fill it, either paste the “citation key” from your .bib file (the text right after the @article description), or sometimes when you start typing the name, Overleaf suggests it for you.
For single citation, you can use \cite{}. For instance, \cite{eccles_expectancy-value_2020}.
For more than one, you can use \cites{}{} and use the curly brackets to specify however many articles you’re referring to there.
So for example we have two \cites{gaspard_how_2019}{trautwein_probing_2012} or even three \cites{bong_role_2001}{durik_task_2006}{musu-gillette_trajectories_2015}.
There are more ways to do your citations: with parenthesis, only with year, only with author, etc. You can check all the variations in this cheatsheet.
After you’re done, try recompiling it!
Do you see that at the end of the article, your references are automatically formatted? Neat, no?
And no matter how many references you have in your .bib file, only those you have cited in the article will show up here – which means no more anxiously manually checking whether you’ve put in all the bibliography!
9. Filling in details: Figure
Now to the last part of our crash course to LaTeX today, let’s practice adding a picture to our file.
You could copy the first two lines from “1.4. The Present study”, and you’ll notice that in the article, this is referencing Figure 1. How do we do that?
First, make sure to input the figure!
You can go to the bottom of the page until you find the line \begin{figure}[t] (in the original template, it is line 229. Could have moved a few lines after your inputs!).
This command is read by TeX as “I want to add a figure here, please.” The [t] means you’re telling LaTeX “I want it placed at the top of the page”.
You can open the link suggested by the template to see other placement specifiers you can do.
Then the command \includegraphics[]{} describes which image file LaTeX should use. In our case, we could write \includegraphics[width= \textwidth]{240417-conceptual_model.png}. This tells LaTeX that I want it exactly as wide as the text, and with this file.
You could change the size to whatever, like 5 cm wide or 10 cm tall (use
height=).
Next, look at the \label{}. This is where you specify the nickname to reference the figure in-text. In my experience, most people add, remove, and change figures often in the process, that trying to remember which number it is doesn’t really work well! So name it as something you can easily remember. Let’s say we want to call it “conceptual-model” rather than the boring “fig 1”. We specify it by writing \label{conceptual-model}.
Now to finally reference this in-text, go back to the pasted sentence and specify (see Fig.~\ref{conceptual-fig}).
Then try recompiling it! Voila, you’ve covered most of the basics of how to do basics of LaTeX.
10. Summary
This is an introduction to a tool that is openly available to everyone – you just need a working internet and willingness to learn. - There is so much more you can do! I wrote my dissertation with LaTeX, and what a joy it is not to worry about formatting my table of contents in Word, because LaTeX takes care of it for me. - You can also check different publishers for their LaTeX template
This session is not aimed to convert everyone into using LaTeX, but as a showcase of what is possible, what tools are available, and to nudge all of us to explore ways to make our scientific work more accessible and doable even without the institutional privileges.
To take the vision even further, skills in using free and open source tools also could help lower the cost of publishing. For example, In Computer Science, it is common practice to only pay around 80 euros (or even nothing at all!) to publish an article: they don’t need expensive article processing fees because everyone can format their texts to a high-quality publishing ready PDF without the necessity of paying someone to format them! Isn’t that a wonderful practice that we can aspire to get to?
Anyhow. Even if you’re not taking up LaTeX or Overleaf, I hope this challenges you to think of ways to ensure that scientific publishing is more open.
All in all, good luck and have fun! Feel free to contact me to geek out over LaTeX.
Additional resources
If you’d like to explore more on your own, try out Overleaf’s step-by-step guide for your first project, or explore the different LaTeX commands.
You can also contact me if you’d like to see some assignments I’ve written with LaTeX, or even my PhD thesis!


